I found this tutorial on google doing a search for pse tutorials...unfortunately i don't have the original link to the page. It goes great with jeans lol!
Make a new layer
select Enhance>Unsharp Mask and set the Amount and Radius to 200 and the Threshold to 0
Click on the foreground color to set the color. Then, within the Color Picker, set the # value (the hex value) to 7c766e and press OK.
select Layer>New Adjustment Layer>Hue/Saturation… and press OK. Then, select the Colorize option in the Hue/Saturation panel and adjust the opacity of the Hue/Saturation layer to 50%.
select Layer>New Adjustment Layer>Gradient Map… and press OK. From the Gradient Map drop-down, be sure to select the Black, White option.
set the opacity of this layer to 50% and set the blending mode to Overlay.
Merge layers
Select the Burn Tool (O) and from the brush presets (upper left corner on the tool menu), select the Soft Round 300 Pixel brush and adjust the size up or down to suit your image and preferences.
Brush along the outside edges of the image to burn in a vignette — do this repeatedly and as much as you like to achieve the desired look.
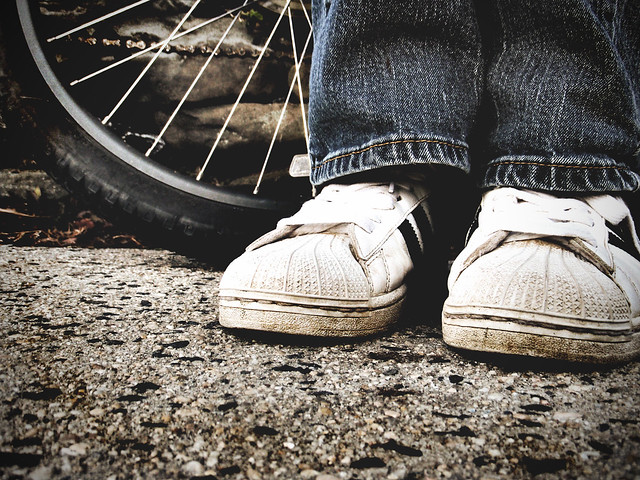
The top photo which was posted on flickr i added a solid layer in white set at 20% opacity just to soften and lighten the image.
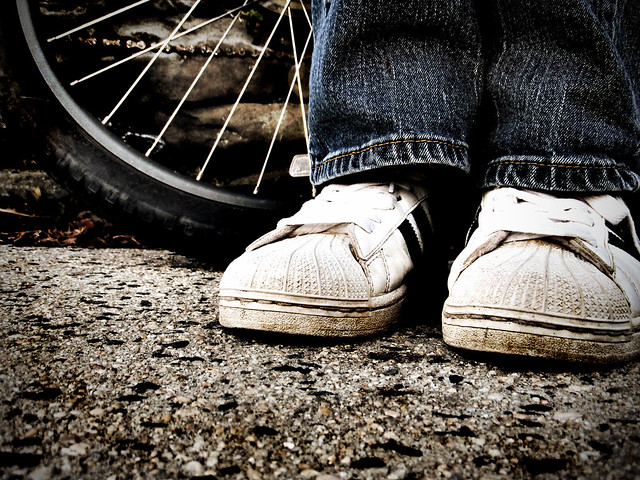
The top photo which was posted on flickr i added a solid layer in white set at 20% opacity just to soften and lighten the image.
1 comment:
Beautiful edit! Lovely blog too :)
Post a Comment