Showing posts with label before and after. Show all posts
Monday, August 1, 2011
Old Photos
In my last post i mentioned the old photo effect...this is a really wonderful little action that takes just a second to do. Open the image
on the right section you'll find a tab with all the effects...click on that and go almost to the very bottom of the icon list. you'll see and brown square with an apple and if you position your cursor over it it says old paper. apply the effect then go to the layers section, make sure your layer (the new effect) is highlighted and chose soft light. You can then adjust the opacity and in the case in the image below i brightened the original.
Tuesday, July 26, 2011
Distorted
I played around a little with distorting some images just for fun and some of my flickr friends asked how i did it! If you go here, you'll find an incredible manipulation from one of my favourite contacts and she was nice enough to include the steps. I think i only did the final one....because honestly....someone like me who is just starting with ps takes hours to manage images like this...i believe a lot of the experts take around 20mins to digitally enhance an image!
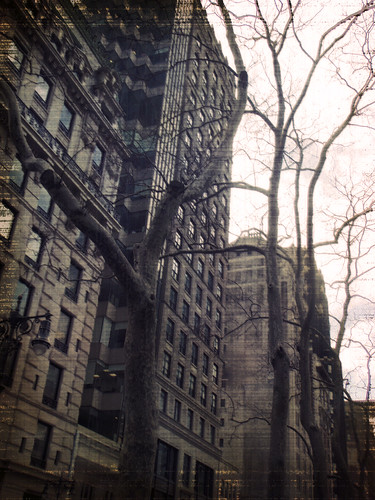
here's my before and after....
i used the old photo effect in pse
then i went to the top tool bar and clicked on filter and the 3rd option is correct camera distortion....have fun!!!
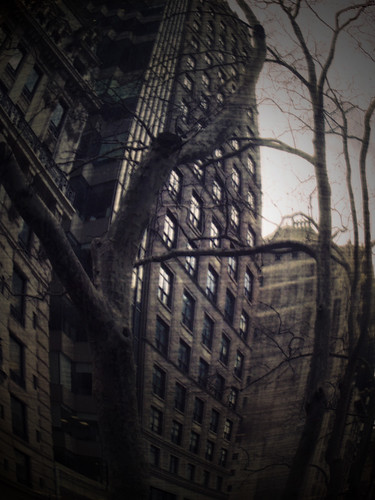
here's my before and after....
i used the old photo effect in pse
then i went to the top tool bar and clicked on filter and the 3rd option is correct camera distortion....have fun!!!
Thursday, August 26, 2010
Before and After
A few of my friends over at Flickr asked me how I edited a photo that I posted today. I couldn't find the original...but as I was delving thru my files I found this photo, so I used the same process. Make a duplicate of the original photo, and use the glassian blur on this layer. Adjust the blur, opacity and colour. If you use a slight blur it will give you a glow but stay sharp. If you're using PSE you can use the eraser tool as I did on the tips of the photo on Flickr. I could've used this for the hosta in this photo but I was editing in Microsoft Picture it, which is quicker but doesn't have that tool.
To see more before and after editing stop by Pixel Perfect.
I must apologize for not returning visits all week, it's been raining and I can't get a connection, so I'll have to stop by tonight and catch up! I'm also looking for a new camera...I'm using an olympus p&s but hubby mentioned he would be me and slr...he bribed me, but I'm ok with that lol. So can anyone recommend a decent enough low end Canon or Nikon they like. I do a lot of macro & shoot mostly outdoors.
Wednesday, August 18, 2010
Theme Thursday - Before and After
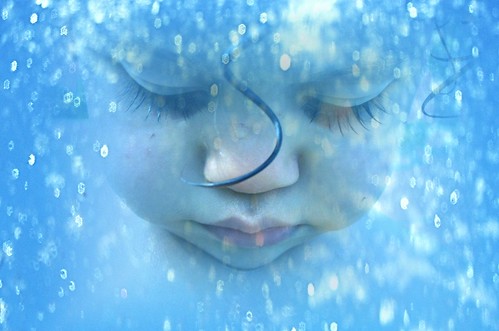
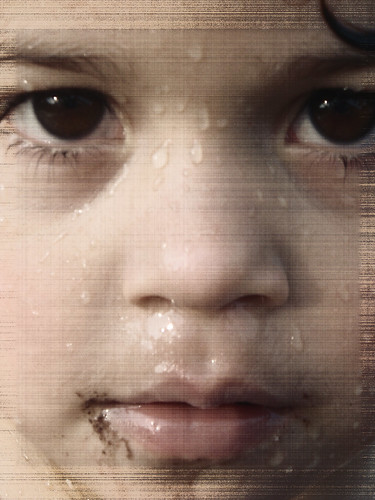
2 snaps from the waterpark and a little easy editing in Microsoft Picture It.
This is has to be my favourite photo of Carter!
At Theme Thursday this week’s theme is “children”! Create something with a child or children this week! Use collage images, rubber stamps, fancy paper , embellishments or any other art supply to make your creation! Digital art is also welcome! Interpret this theme any way you like! You can create an ATC, tag, 4 x 4, card, skinny or whatever you fancy!
Wednesday, August 4, 2010
Before and After
I have just started using a very old version of Photoshop Elements my Mum sent me recently...unfortunately I didn't save all the steps. This is a very basic edit and very easy. The flower is selected (traced with the mouse) and cut out so there is no longer a background and the textures added (these are Shadowhouse). It's kinda funny that this is the only photo I took of this flower because it was too windy, but ended up making for a good picture.
Click on the photo to see full effect. If you would like complete tutorials, stop by my photo blog and you'll find lots of links in the sidebar.
Subscribe to:
Posts (Atom)